
Just as I fell in love with my husband in Idaho, I also fell in love with Oreo balls in Idaho. Well, that is the first time I saw this delectable treat, anyway. While I am aware that the words "love", "oreo" and "husband" are pretty strong words to use in the same sentence, it is necessary to get the point across, nonetheless.
When my husband's coworker told me what was in them, I was shocked to find out there were only three ingredients!
So without further ado...
Meet three of my best friends...

Now meet two of those best friends in a food processor....
(the cream cheese and oreos)

And there you have it, your oreo balls...

After putting them in the freezer for about 15 minutes or refrigerator for about 30 minutes to harden...
dip them in the melted Ghirardelli chocolate chips, sprinkle with decoration and you have...
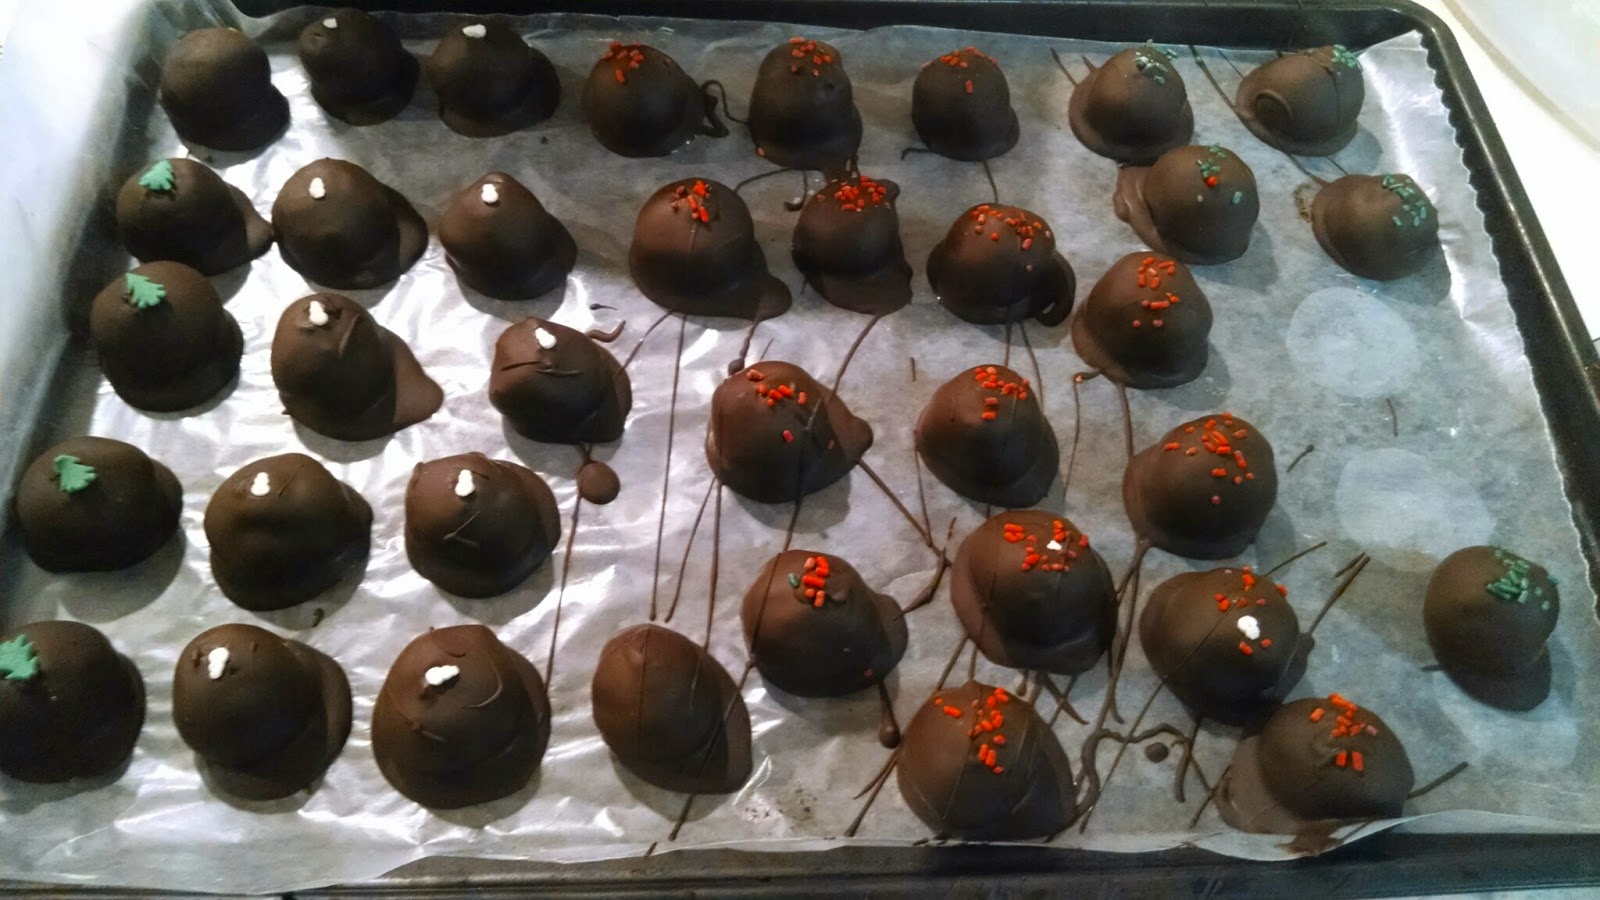 |
| It may not look like it, but that is actually a snowman sprinkle, a christmas tree sprinkle and some red and green sprinkles. |

Festive Oreo Balls for a holiday party.
(I made this particular batch for a neighbor's work party)

There is no third wheel with this trio of ingredients. Each one has a most important and specific job.
Enjoy!
p.s. The best part about making oreo balls is that you always have leftover chocolate for dipping other unsuspecting food items which you find around your kitchen. This time, I dipped the oreos. Sometimes I mix almonds or raisins or bananas or marshmallows.

The recipe:
Ingredients
1 package Oreo cookies
1 8 oz block of cream cheese
2 packages Ghirardelli 60% bittersweet chocolate chips
sprinkles for decorating (optional, of course
Mix the package of Oreos and the block of softened cream cheese in a food processor. Shape into balls and place on wax paper lined baking sheet. Put in the refrigerator for 30 minutes (or freeze for 15 minutes). The balls need to harden enough to dip easily. Melt the chocolate chips in a double boiler on the stove or in the microwave. (I usually add a tablespoon of shortening in order to help the chocolate flow better) Using two toothpicks, dip the balls into the chocolate and place back on the wax paper. I use one toothpick to dip and the other toothpick to help release the ball and then cover the hole back over with chocolate. I also change toothpicks frequently as they get gooped up rather quickly and make for a messy ball.
Remember that however you decorate the tops of the balls, you have to do it quickly, before the chocolate sets.
Whatever you decide to make or do this Christmas may it be merry and bright and prepared and received with love!
Merry Christmas!
No comments:
Post a Comment